
Webhook Tutorial
Webhooks are an automated notification containing specific data sent from EASE to another system when a specific event occurs within EASE. Some of the more common events include:
- Finding closed
- Finding opened
- Assessment completed
- Assessment missed
- Assessment past due
In the tutorial below, we'll be leveraging EASE webhooks along with Microsoft Power Automate in order to post a message to an MS Teams channel. Webhooks can also be consumed by other workflow automation tools like Zapier, or even an internal developed applications.
If you are not interested in Webhooks, skip to the next step
Setting up a Webhook in EASE
- Login to the EASE application as either a Site Admin or Org Admin
- Navigate to the Webhook setup page, under Admin -> Settings -> Webhook setup page
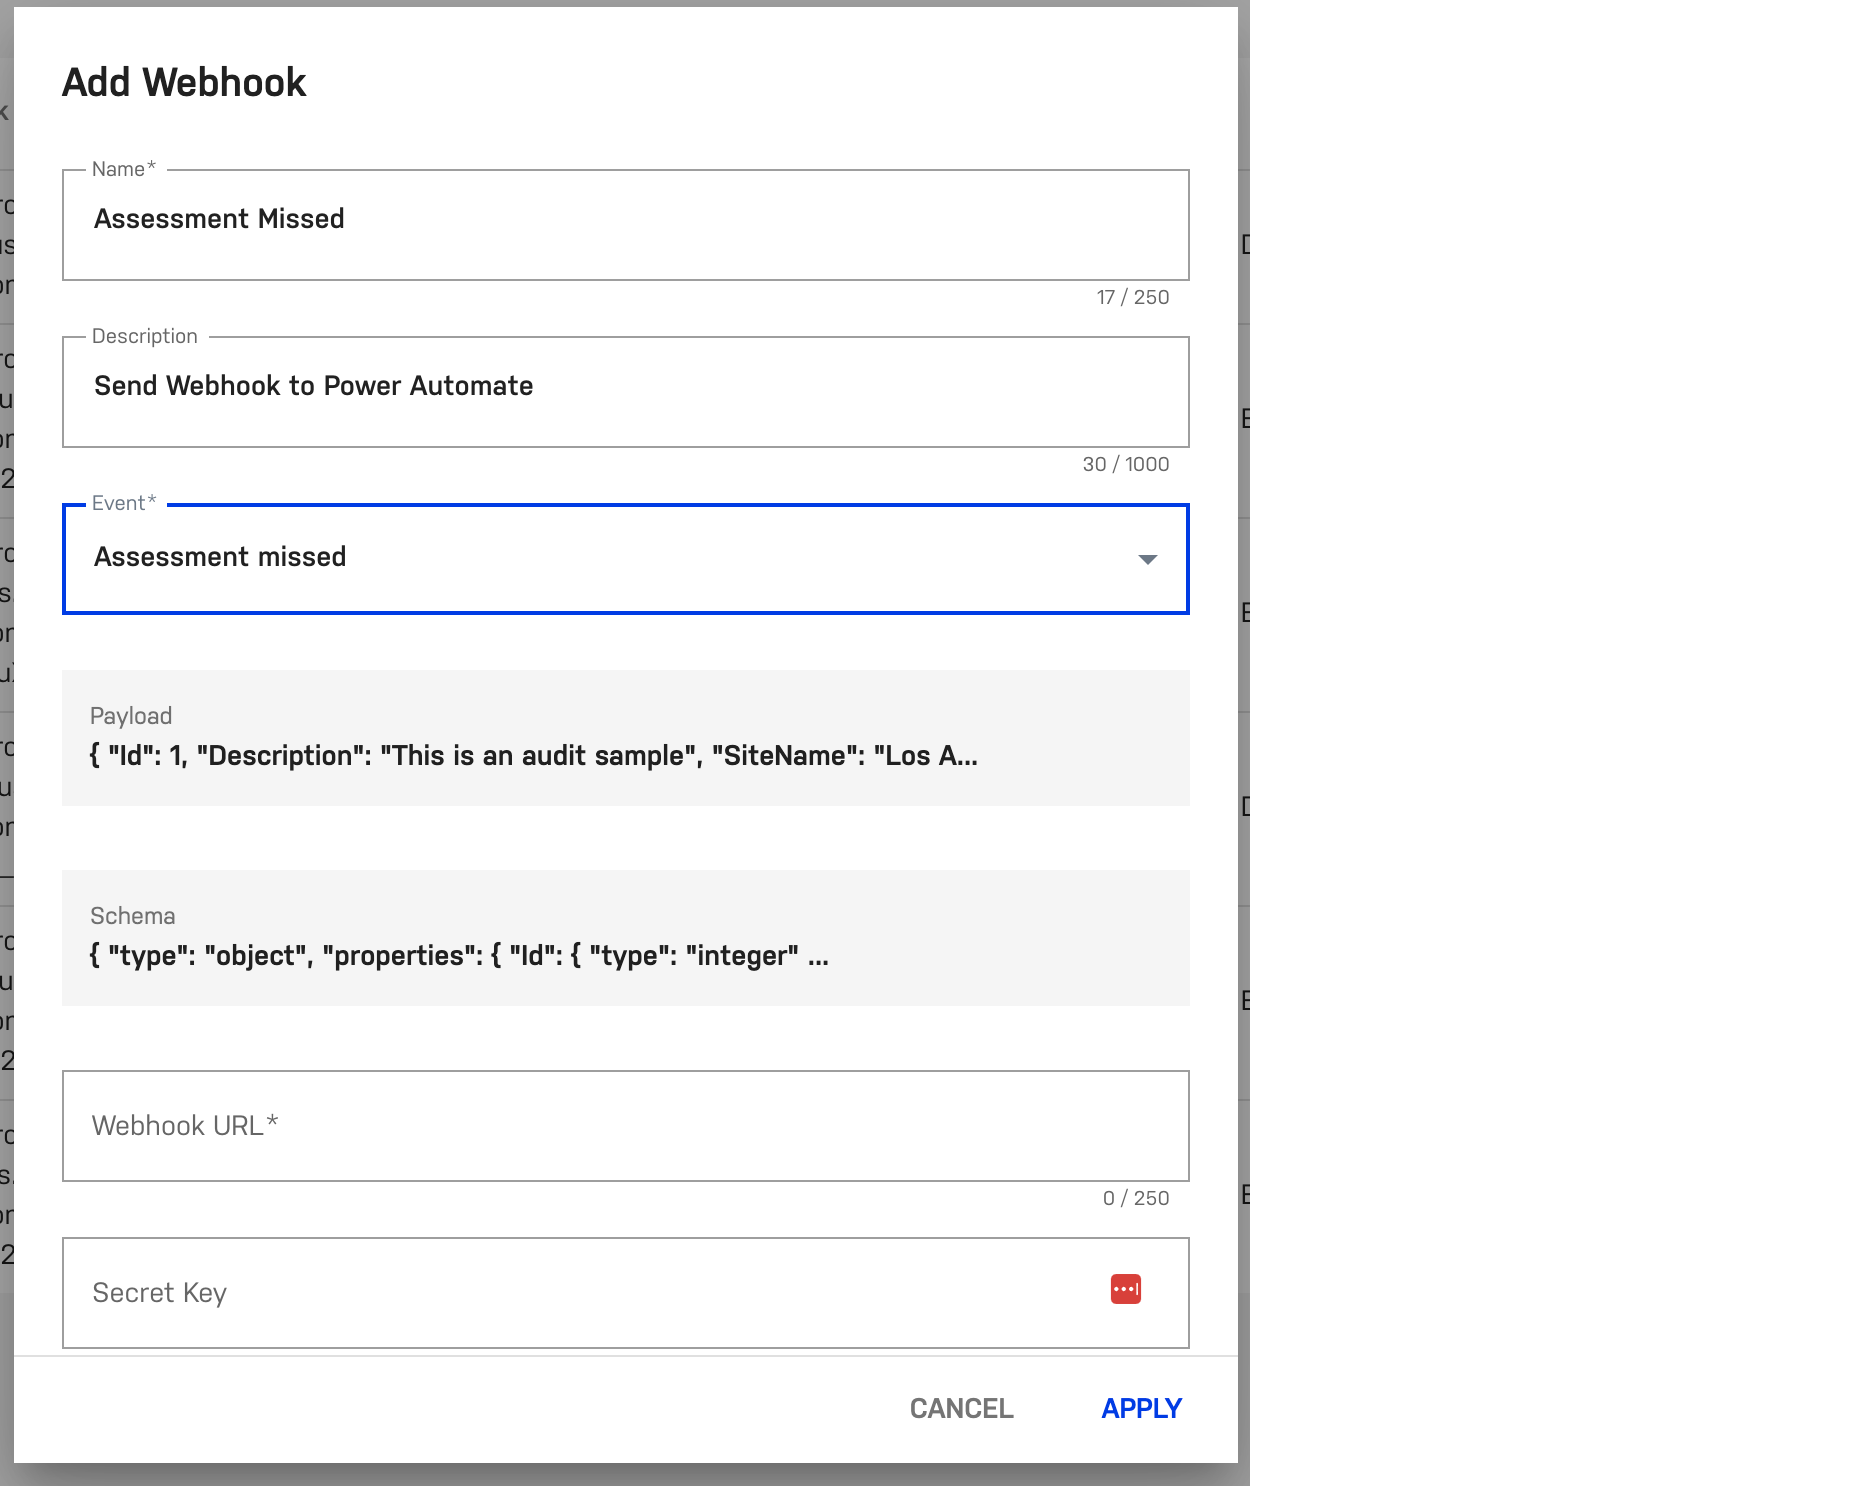
- Select "Add Webhook"
- Enter a Name and Description for your webhook
- Select the Event you would like to trigger a webhook from. In this example, we'll configure a webhook each time an Assessment is missed
- Copy the sample Schema information. This will be used in the next step
- The Webhook URL will be the URL that is generated by Power Automate (We'll come back to this step)
Configure a flow in Power Automate
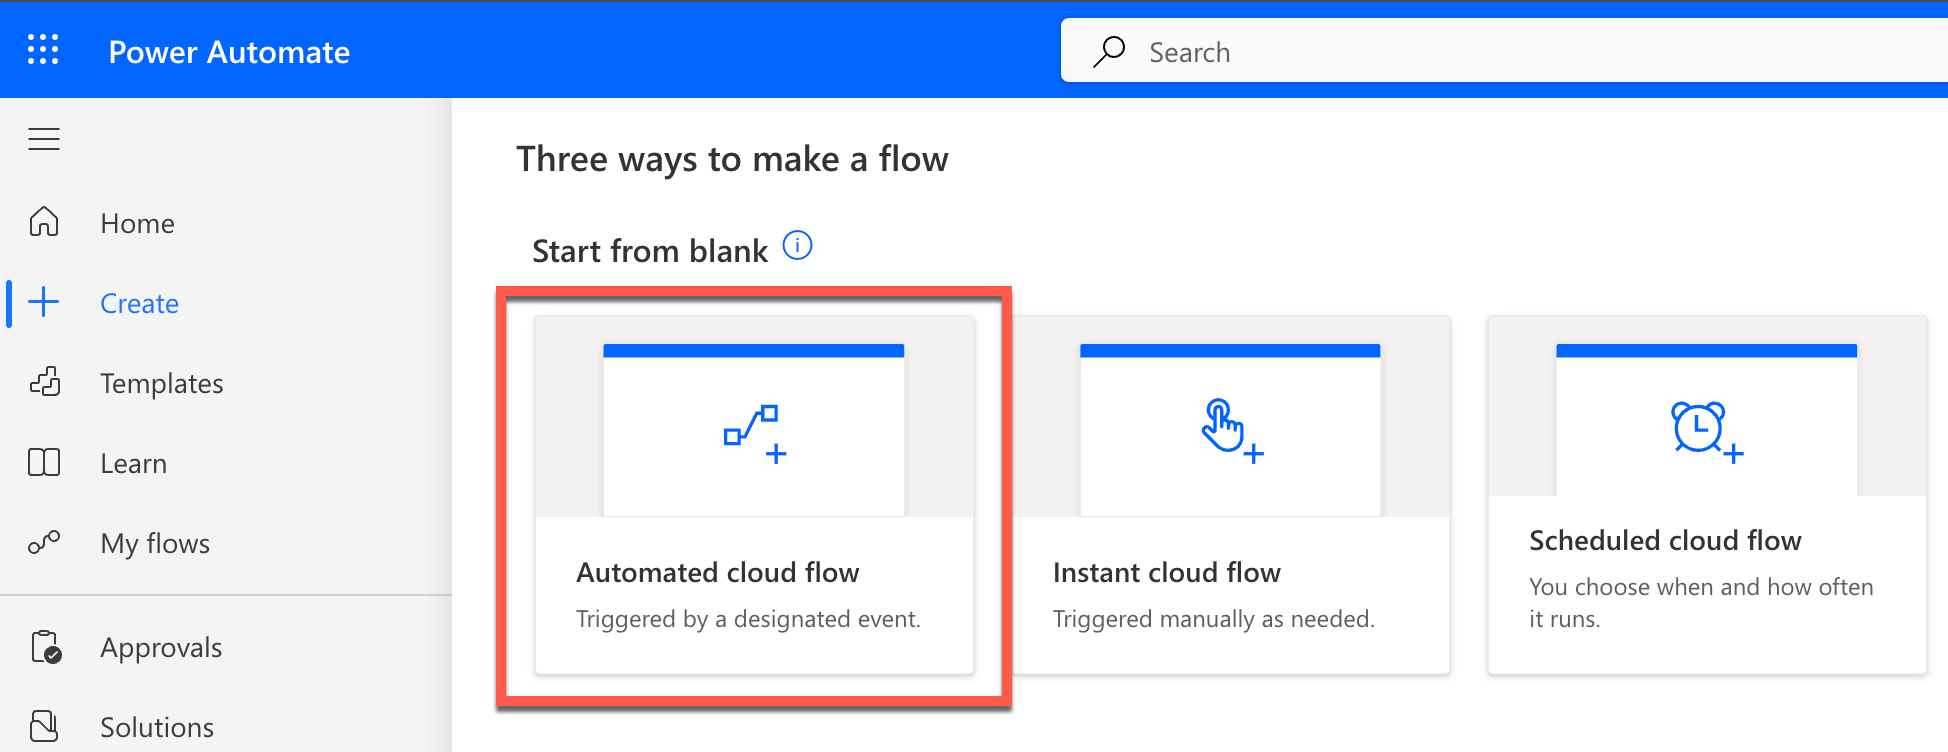
- Create a new Automated cloud flow in Power Automate
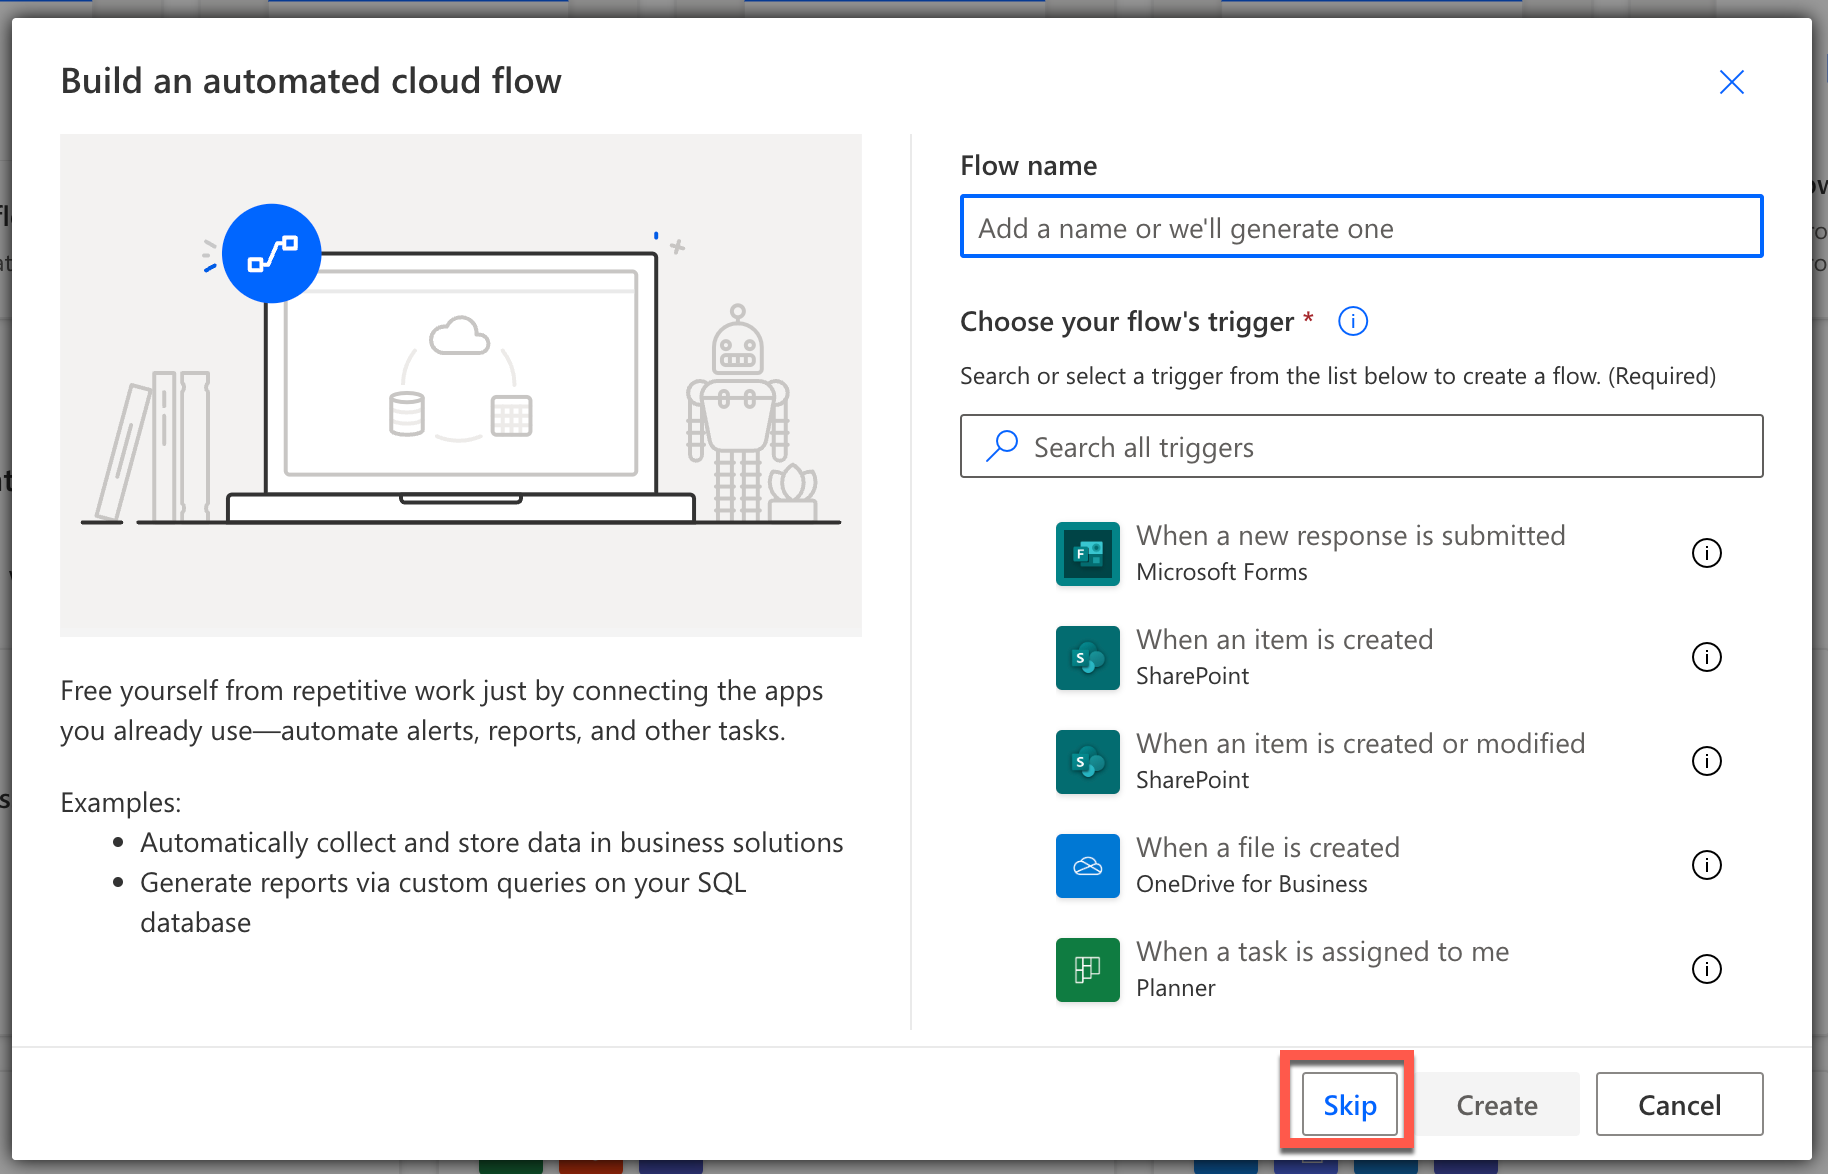
- In "Build an automated cloud flow" dialog click the "Skip" button
Setup a trigger in Power Automate
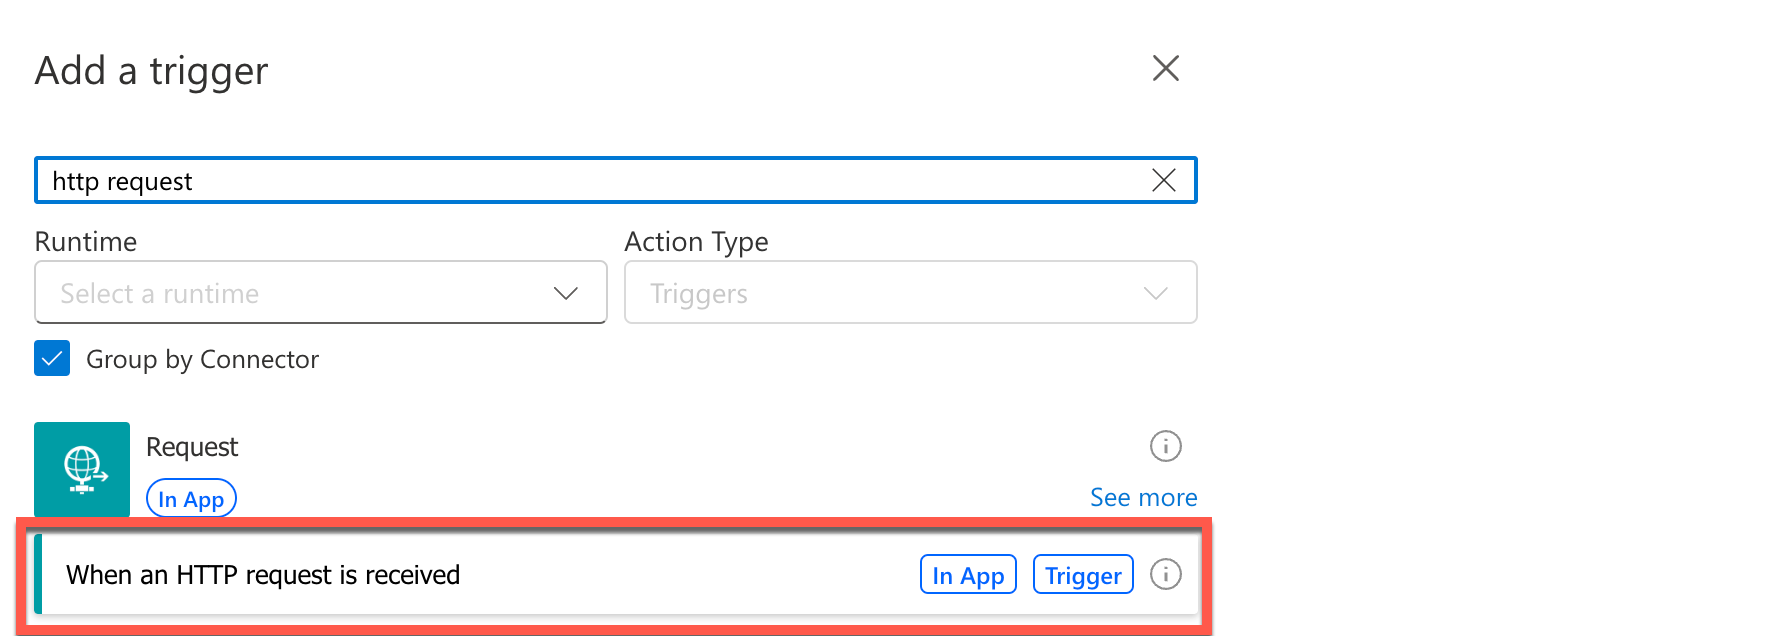
- Add a new trigger and search for "http request" and select the following option:
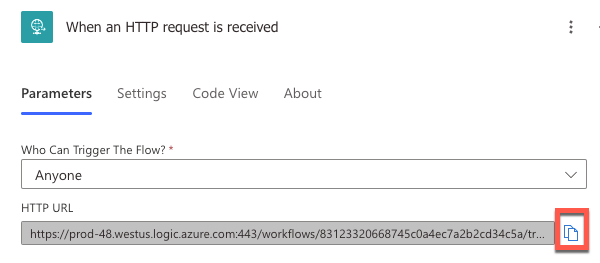
- In the following Parameters configuration:
- "Who can trigger the flow?" - select "Anyone"
- Copy and paste the "Schema" from the EASE "Add Webhook" popup, to "Request Body JSON Schema" field

Setup an action in Power Automate
- Click the + button next to the trigger you just created, and select "Add an action"
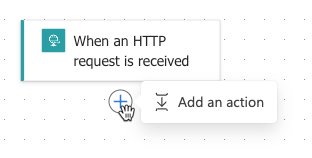
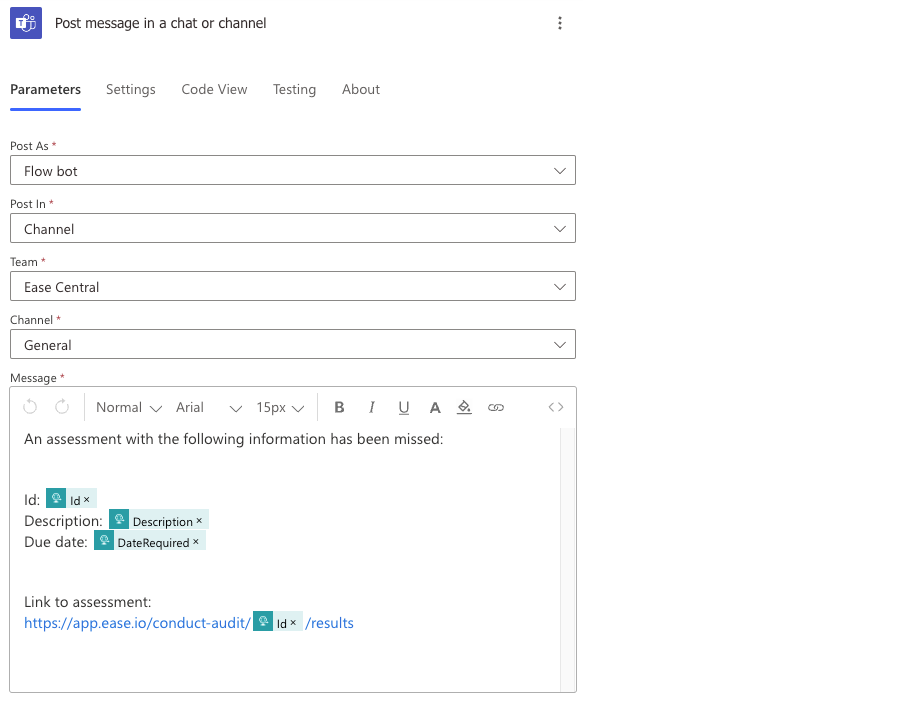
- From here you can select from numerous actions, but for this tutorial, we'll select "Post message in a chat or channel" under the "Microsoft Teams" section.
- Fill out the fields as shown below:
Finalizing setup
- At this point, you can now save your Power Automate flow
- Once the flow has been saved, click on the trigger that was created in the third section
- Copy the "HTTP URL" generated
- Go back into EASE where you left off in the first section
- Paste the "HTTP URL" from Power Automate into the "Webhook URL" field
- Click "Apply" to save your webhook
- Reopen the webhook that was created in order to test out the workflow
- Click the "Test" button on the bottom left of the dialog
- If successful, you will see a "Webhook Test Succeeded" message
- At this point, the setup is complete. Anytime an Assessment is missed in EASE, you will get a message sent to your Teams chat or channel
Note: EASE Webhooks are only available with one of the following packages:
- Standard
- Premium
- Enterprise
Please contact support@ease.io for more information
Comments
0 comments
Please sign in to leave a comment.